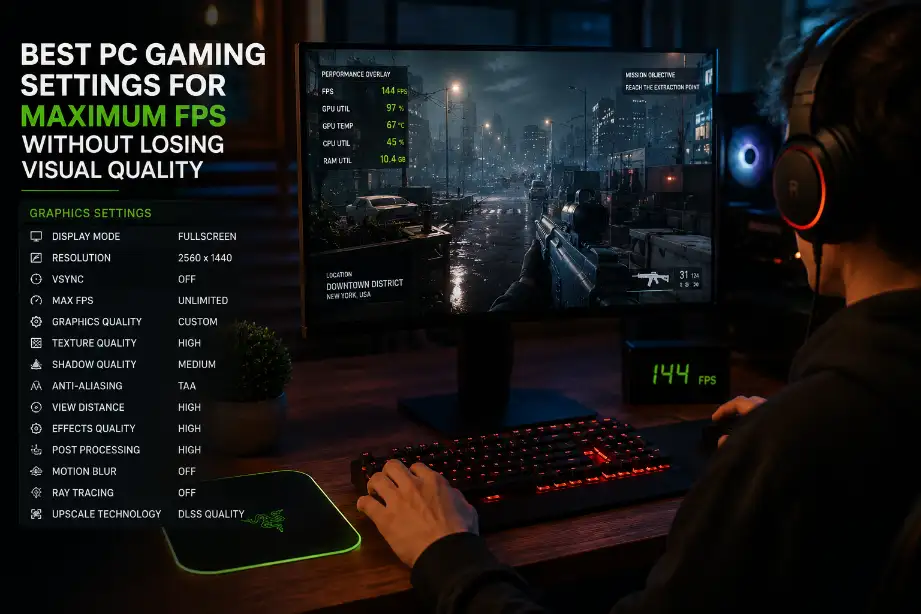
PC Gaming Settings for Higher FPS Without Unnecessary Quality Loss
Last updated:
Checked 29 August 2026. Menu names and upscaling options vary by game, GPU and driver.
There is no universal “best settings” list. A useful setup starts with a target, measures one repeatable scene and changes the settings that address the actual bottleneck. This avoids the familiar mistake of turning everything to Low and losing image quality without fixing uneven frame times.
1. Define resolution, display mode and target
Start at the monitor’s native resolution and choose fullscreen or borderless mode according to the game’s support. Set a realistic target such as 60, 90, 120 or 144 frames per second, then decide whether you prefer a hard cap, variable refresh rate or both. A stable frame-time target is often more useful than the highest momentary FPS.
Keep the test controlled: use the same save, camera path, weather and combat state. Record the preset, resolution, driver and game version. Intel PresentMon is one current multi-vendor option for frame telemetry on Windows; a game’s built-in benchmark is simpler when it represents normal play.
2. Decide whether the GPU or CPU is limiting
| Signal | Likely limit | First settings to try |
|---|---|---|
| GPU utilization stays high and reducing resolution helps | GPU | Resolution scale, ray tracing, shadows, volumetrics, reflections |
| Lower resolution changes little while busy scenes dip | CPU or game thread | Crowd density, simulation, view distance, traffic, physics |
| Average FPS looks acceptable but traversal stutters | Streaming, memory or compilation | Texture pool, storage, background apps; check game-specific notes |
These are diagnostic signs, not guarantees. A system can shift between CPU and GPU limits from one scene to another. For especially heavy games, compare your hardware with the exact targets in our guide to demanding PC games and official requirements.
3. Change settings in a useful order
- Begin with a preset close to the desired image quality, then restart if the game requires it.
- Lower ray tracing first when its visual benefit is small for the performance cost in your target scene.
- Adjust shadows, volumetrics, reflections and ambient occlusion one step at a time.
- Keep texture quality within available VRAM; textures often affect memory more than raw shader load.
- Reduce crowd, simulation or view-distance settings only when the CPU appears to be the limit.
- Retest the same sequence and compare frame-time consistency as well as average FPS.
Upscaling, frame generation and anti-aliasing
Upscaling renders a lower internal resolution and reconstructs a higher-resolution output. NVIDIA’s current DLSS page describes Super Resolution, Ray Reconstruction, DLAA and hardware-dependent Frame Generation features; AMD’s current FSR page describes upscaling, frame generation and newer “Redstone” components. Availability depends on the game, GPU and implementation.
Use Quality mode first at 1440p or 4K, then inspect fine text, foliage, particles and motion. At 1080p, a low internal resolution can make reconstruction artifacts more obvious. Frame generation can improve displayed smoothness, but it does not replace a responsive base frame rate and may add artifacts. Do not quote a vendor’s multiplier as a result for another game or PC.
4. Validate a balanced result
- Test a demanding combat or traversal scene, not only an empty room.
- Watch low frame-time spikes and responsiveness, not just the counter.
- Check VRAM use and texture pop-in after several minutes.
- Confirm variable-refresh behavior and avoid exceeding the display’s useful range.
- Save the final preset or take screenshots of each settings page after major patches.
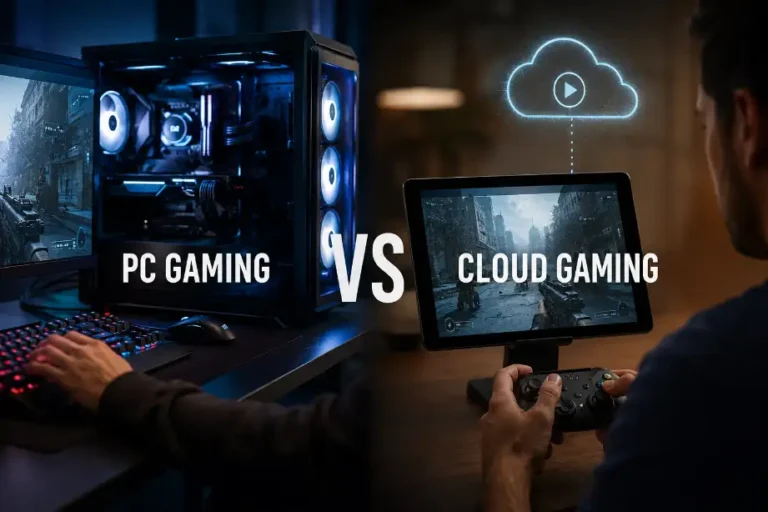
If local hardware cannot meet the target without unacceptable compromises, cloud gaming has a different set of image-quality and latency trade-offs.